.svg)
Sync Webflow & Airtable
A full walkthrough for syncing Webflow site and Airtable in real-time.
Before beginning we recommend creating a backup of your Webflow site and your Airtable bases. This helps ensure that if you accidentally map fields incorrectly or happen to overlook anything during the process you have current backups from prior to the syncing process. To save your Webflow site you can press Command + Shift + S (on mac), or Control + Shift + S (on Windows), you can customize the save state name to make it easier to find in the event you need to restore from backup.
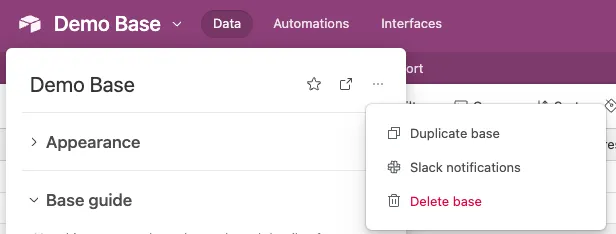
To create a backup in Airtable (if you already have a Webflow Airtable base created) visit your base, click on the dropdown arrow near your base name, click on the three dots ... and select duplicate base. The image below should help you find this.
Now that you've created backups of both your Webflow site and Airtable you are ready to start the process of syncing with Flowmonk.
Step 1: Add your site to Flowmonk
If you haven't done so already you'll need to connect your Webflow site to Flowmonk, click on the Connect to Webflow link on the Flowmonk dashboard as shown in the image below.
.webp)
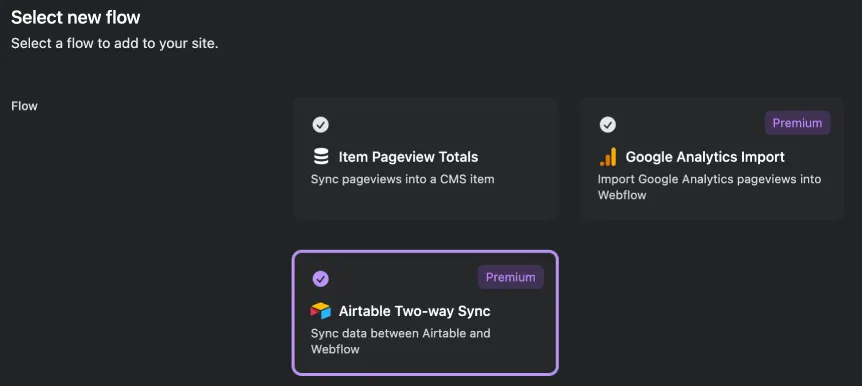
Step 2: Click on Add Flow & Airtable Two-way Sync
You'll then be redirected back to Flowmonk's dashboard, at this point you can click on Add Flow next to your Webflow site that was just added in the previous step. Select the Airtable Two-way sync as indicated in the image below.
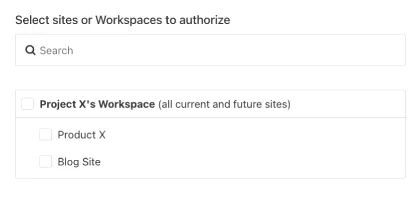
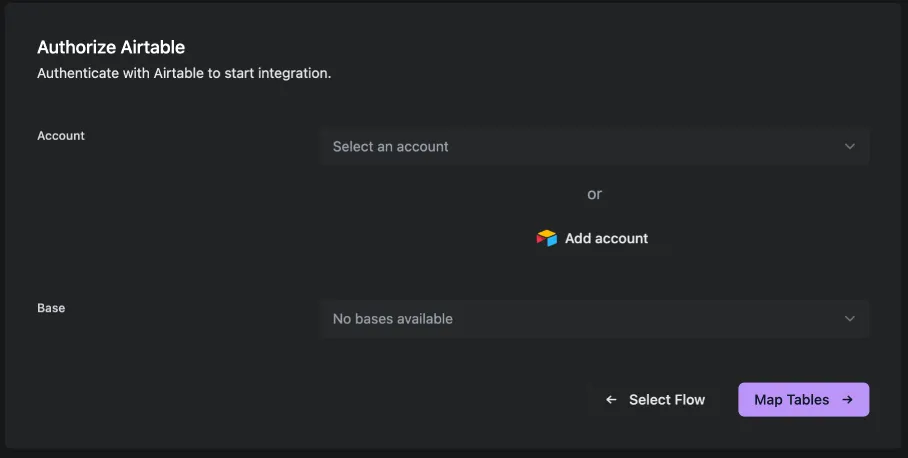
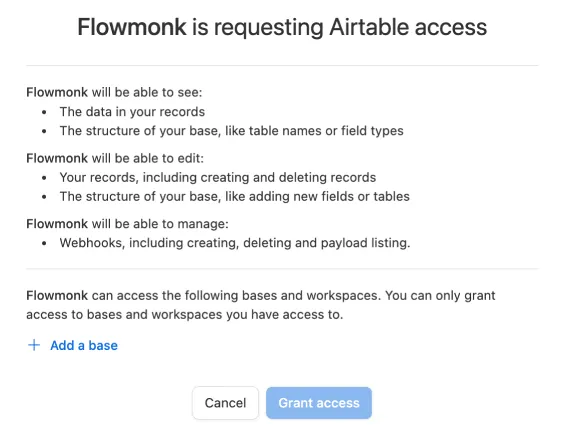
Step 3: Authorize your Airtable account
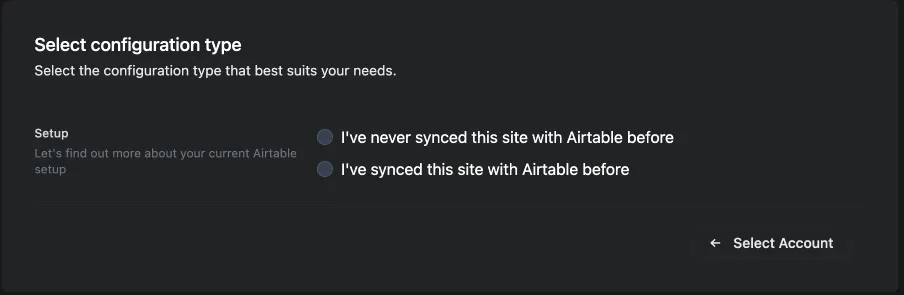
Step 4: Select configuration type
We offer two different types of configuration setups depending on your expertise with Airtable and whether or not you have synced your site Webflow & Airtable previously. We highly recommend using our Auto Airtable configuration regardless of whether or not you have synced your Webflow & Airtable site previously. When you sync with Flowmonk you'll need to have an empty Airtable base, or Webflow CMS collections. This is so to prevent duplicate records from taking place during the initial sync.
- I've never synced this site with Airtable before
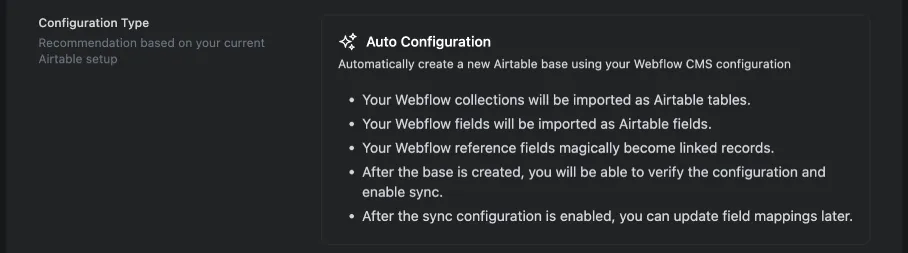
We highly recommend using our Auto Airtable configuration during the setup process. This will save you a lot of unnecessary time of manually setting up your Airtable base, it's all done for you! We will automatically create your Airtable base with all field types created and linked records (Webflow single/multi-reference collections) created for you. This is an exact replica of your current Webflow CMS structure.
- I've synced this site with Airtable before
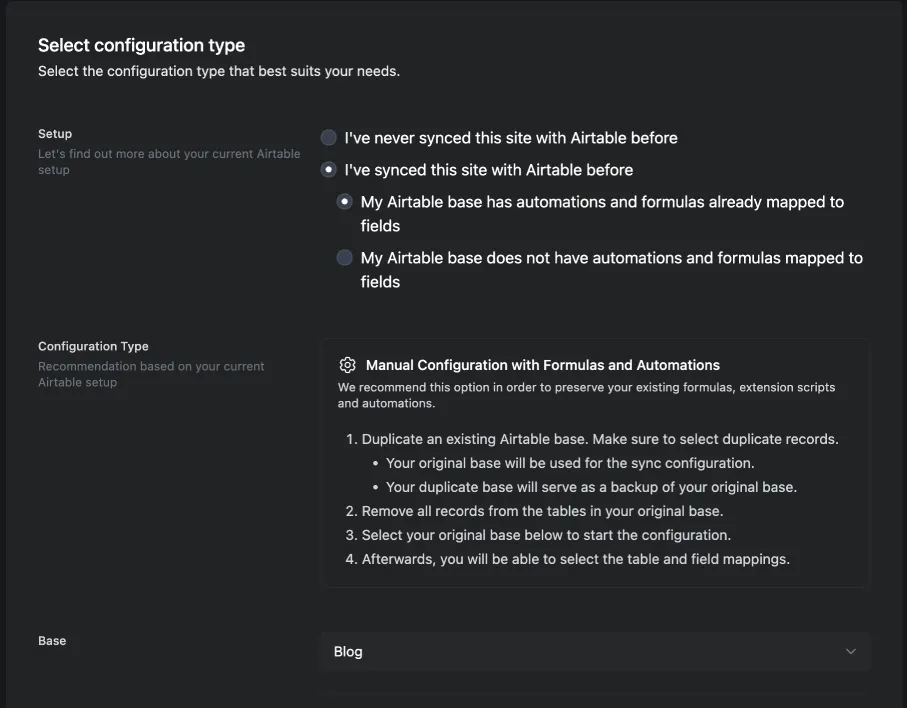
This method is recommended for advanced users that have already synced their Airtable & Webflow sites and already have formula fields and Airtable automations setup. If you have complex formulas previously setup in your Airtable base, and this base has been previously synced with Webflow we will not have the ability to copy those formulas. If you have Airtable automations previously setup that rely on Webhooks or other advanced Airtable automation functionality we recommend manually setting up your Airtable base and not using the auto Airtable configuration. Otherwise you will need to manually setup the Airtable automations again and re-add the Airtable automations again.
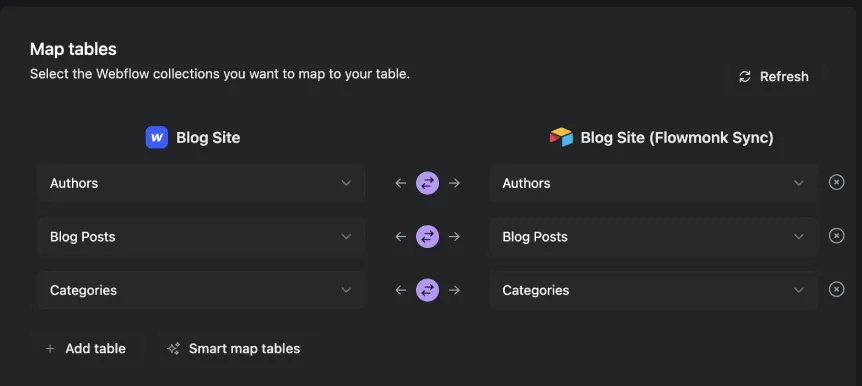
Step 5: Mapping Webflow & Airtable tables
At this point you will want to map all of the Webflow collections and Airtable tables. Our Smart mapping functionality will automatically sync any tables/collections that utilize the same exact names, if you happen to have others that are not mapped with Smart mapping then click on the add table button and add those tables.
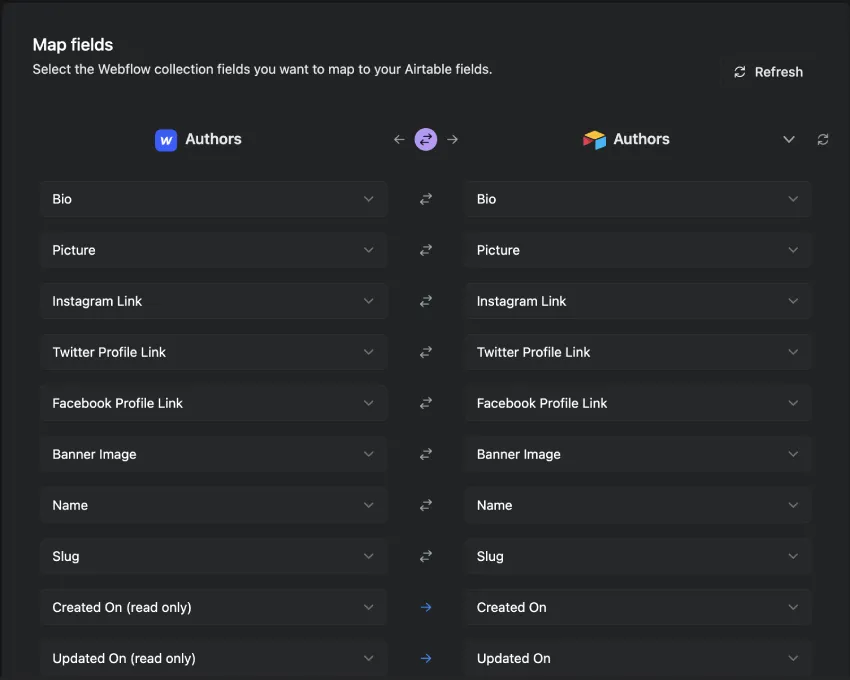
Step 6: Map Webflow fields & Airtable fields
You are almost done, this is the last step. You'll now need to map all of the relevant fields from the tables that you mapped in the previous step. Field names do not need to match and can be whatever you want to have them labeled. If the field names do match our Smart mapping functionality will have already mapped those fields for you. Keep in mind that field types are important and only certain Webflow field types can sync to relevant Airtable field types. In the event a field cannot be mapped we provide suggestions of what field types are expected during this mapping process.
Step 7: Click on Submit and we'll start syncing
You are all set! We're now starting to import your data and beginning the real-time Airtable and Webflow syncing process.
Related docs
Sync Webflow & Airtable
A full walkthrough for syncing Webflow site and Airtable in real-time.
Smart mapping fields
Flowmonk makes mapping fields dead simple with our smart mapping functionality.
Airtable & Webflow Sync Supported Fields
A full collection of supported fields that you can sync with Webflow & Airtable via Flowmonk.
Flowmonk
for free
.webp)